This mini version of a classic Victoria Sponge cake is the perfect treat for when you want only a small amount of cake! The sponge is soft, moist and packed with vanilla, layered with whipped cream and sweet jam and then crowned with fresh fruit. This recipe is easy, quick and 100% worth it for a perfect plant-based Victoria Sponge experience.
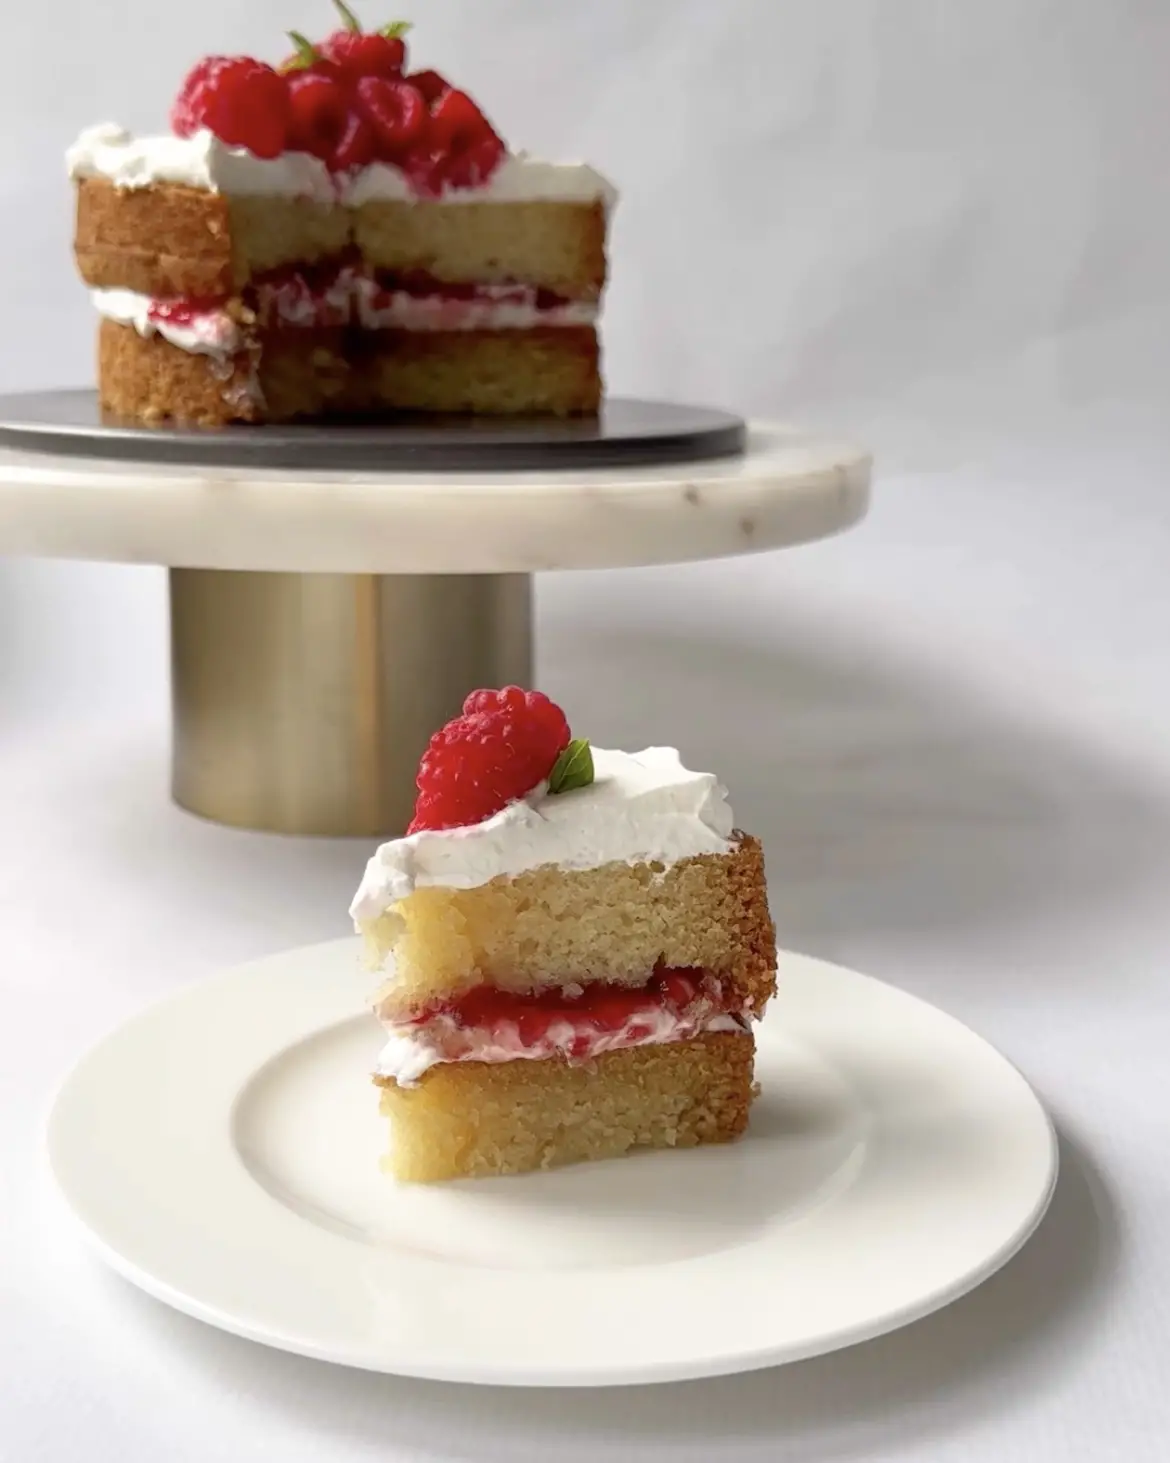
Cake is a top tier dessert. A good slice of cake with a cup of tea is one of life's greatest pleasures! However, you don't always need a massive cake which you won't end up finishing. That's why this mini victoria sponge cake recipe is a great choice. It is around 6 inches wide with two layers, making it nice and small! It would serve around 4 people (it could be 6 if you have smaller slices). Alternatively, you could just make it for yourself to enjoy over a weekend.
I use silicone baking tins to make cakes as I find them to be easier and better than metal tins. I buy 5.5 inch tins and use them for most of my cakes! For this recipe, you only need to use one deep silicone tin. The other piece of equipment which I use to ensure that my sponge layers are even is a cake leveller. This is great as it means you can get perfectly even layers without having to use your own judgement with a knife! It does all the hard work for you.
I hope you love the Mini Victoria Sponge Cake recipe. Let me know how you get on in the comments below. If you are in the mood for a bigger Victoria Sponge, check out the bigger version of this recipe (twice the size!) here.
G x
Mini Victoria Sponge Cake
Ingredients
- 200 ml Almond milk unsweetened
- ½ tablespoon Apple cider vinegar
- 150 g Sugar caster (super-fine)
- ¾ tablespoon Vanilla extract
- 75 ml Vegetable oil
- 175 g Flour plain, white, all-purpose
- ⅓ teaspoon Baking powder
- ½ teaspoon Baking soda (bicarbonate of soda)
- ¼ teaspoon Salt
For the Toppings
- 100 ml Double cream to whip - I used an oat based one
- 2 tablespoon Jam of choice I used raspberry
- 1 handful Fresh raspberries
- 4 sprids Mint/ basil optional
Instructions
- Pre-heat your oven (fan) to 180°C/ 356°F. Prep your 6 inch baking tin with a circle of baking paper at the bottom. I use a bit of oil to make the paper stick to the tin.
- Pour your milk and apple cider vinegar into a large bowl and whisk together briefly, until just combined. Set this aside for a couple of minutes. It will curdle (but don't worry- this is what we want!). In another bowl, sieve the flour, soda, baking powder and salt. Mix these dry ingredients together with a spoon. Then, place your sugar, vanilla + oil into the wet milk mixture. Whisk together until just combined. Using a large spoon, spoon your dry flour mixture into the wet mixture, whisking as you go.
- Pour your cake batter into the baking tray. I used a deep 6 inch baking tray which I then cut into two for the two layers. Bake for 55 minutes, or until a knife comes out clean (check this as your oven may have different heat spots that make the sponge need to stay in for more/less time). If you use different sized baking tins, you may need to adapt the timing. For example, if you use thinner 8 inch baking tins, you will only need to bake them for 30 minutes. Once baked, allow the cake to fully cool. You can leave it in its tin to cool.
- Whip your cream with an electric whisk, or in a standing mixer, on a high speed until firm peaks have formed. This may take around 1 minute, depending on your mixer.
- Once the sponge is completely cool, we need to cut it into two nice even layers. With the cake still in its tin, use a knife to cut the top off. You can do this by using the edge of the tin as a guide, cutting the top of the cake off evenly. Then remove the sponge from its tin and use the cake leveller to cut two perfectly even layers. You can attempt to use a knife if you don't have the leveller!
- On a plate, place one of your sponge layers. Then spread 2-3 tablespoon whipped cream on top. Add the jam on top of the cream evenly. Then add the second layer of sponge. Finally, finish the cake with more whipped cream on top and the fresh fruit + mint/basil sprigs. Enjoy




Leave a Reply